Soviet Units


The Soviet Rifle is more powerful than the Allied version, but less accurate. However, its secondary fire is very powerful, as it fires a rapid burst of bullets at the enemy, killing them quickly.
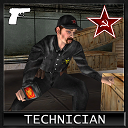
Exactly the same as the Allied version, except that its pistol fires more rapidly.
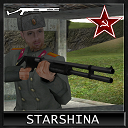
The Starshina is very powerful at close range and can destroy a building by firing at the ‘Master Control Terminal’. Takes some practice, as your aim isn’t very good at first.
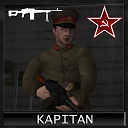
Very effective against infantry and Longbows, but don’t try using it against tanks – it’ll take ages to take out even a single one. Very durable.
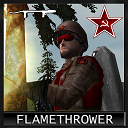
The flamethrower is powerful against buildings, especially silos and defences, but also against infantry. Unfortunately, it’s not very durable and isn’t very fast.
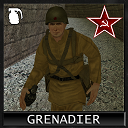
The Grenadier is quite effective against tanks and infantry. Like the Flamethrower, he explodes when he dies, but he is more durable.

The Soviet Sniper has a high rate of fire; unfortunately, he is less accurate than the Allied Sniper, so he hits his target less often. Useful against moving infantry.
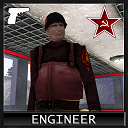
His pistol fires faster than the Allied one; otherwise, he is equipped with the same items as his counterpart, namely: an explosive charge, a super key and a pistol.
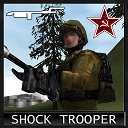
The Shockie, the worst enemy of defences, vehicles and helicopters. Its cannon is very powerful and it is durable; of course, its weak point is infantry. Note: it is slow.
The worst enemy of all units (except Tanya). With its anti-vehicle cannon, it destroys any Allied vehicle, drives off the dreaded med/mech combo, and its secondary fire is highly effective against buildings. Its anti-infantry cannon is effective at close range, but its secondary fire is equally effective from a distance and very powerful. Its weaknesses are enemy Snipers and its reload time.
Very powerful and durable, it has 25 more hit points than the Medium Tank and is twice as powerful. Unfortunately, its slowness makes it easy prey and, although it is durable, it cannot dodge enemy shells, whereas the Medium Tank can.
The V2 launcher is very powerful against vehicles, infantry and buildings. It has a very long range and is fairly fast, but it is not very durable, so it needs to be escorted.
Powerful against everything, it is not very durable. It needs to be escorted, as it is easy prey for Phases, which will attack it from behind.
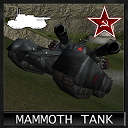
The Mammy is the Soviets’ most durable vehicle, but also the slowest. Its two cannons are very powerful against vehicles and buildings, whilst its two rocket launchers are very powerful against infantry and air units (well, just try hitting an air unit, anyway…). A very good escort!
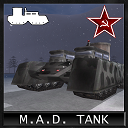
The M.A.D. is known in APB for destroying Allied bases in a single hit when four units are activated at the same time. Be careful, though – if you activate it in your own base, you might get kicked out, as it damages your allies’ vehicles. It’s very durable but needs cover, as it has no weapons.
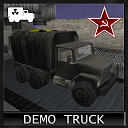
The Demo... I’ll tell you this time and time again: don’t buy a Demo when your base is under attack, otherwise you’ll get kicked out and, on top of that, you’ll anger your allies, as you might lose a building in the explosion or immediately afterwards, since your enemies will focus on the damaged building.
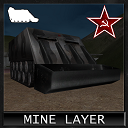
The Soviet Mine Layer lays anti-infantry Land Mines, which can kill a Tanya when she tries to enter one of your buildings.
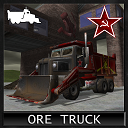
Want to help your team earn more money? Buy it and start collecting!
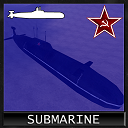
The Submarine is durable and very powerful against ships. It’s only useful at the start of the game to gain control of the seas.
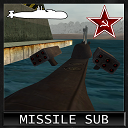
This Submarine is very effective against buildings, infantry and vehicles. However, it has low durability and cannot fire on naval units, so you must ensure you have secured control of the seas before purchasing it.
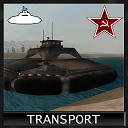
The Transport is rarely used, as it is not very durable. It is only used to transport infantry and there is a high risk of it being destroyed.
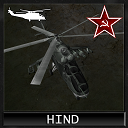
It is the ‘god of the skies’, as it is highly effective against Longbows. Infantry and light vehicles are no match for it; unfortunately, the Allied RS’s Red Eye can take it out with just a few shots.
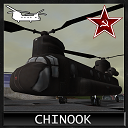
The Chinook Transport is often used for the ‘Chinook Rush’, where you load it up with Shockies and attack the enemy base (very effective – the enemy can lose two or even three buildings), but as always, watch out for the allied RS’s Red Eye, which can take it down in two or three hits.